
PVC Plate-Out Troubleshooting: How to Identify the Real Cause?
Read:109
Source:
PVC plate-out is often blamed on the stabilizer or an excessive amount of wax. In real production, however, deposits may contain lubricants, metal soaps, calcium carbonate, titanium dioxide, degraded PVC, moisture-related residues or a combination of several components.
This is why immediately reducing PE wax or replacing the PVC stabilizer does not always solve the problem. The change may temporarily alter the deposit without eliminating its real cause.
Effective PVC plate-out troubleshooting should begin with evidence:
· Where does the deposit form?
· What does it look and feel like?
· When does it first appear?
· Which raw material, formulation or process condition recently changed?
· What happens to torque, pressure, melt temperature and product quality?
· What does the deposit actually contain?
By answering these questions in order, a PVC processor can distinguish a formulation problem from a processing, moisture or equipment problem.
What Is PVC Plate-Out?
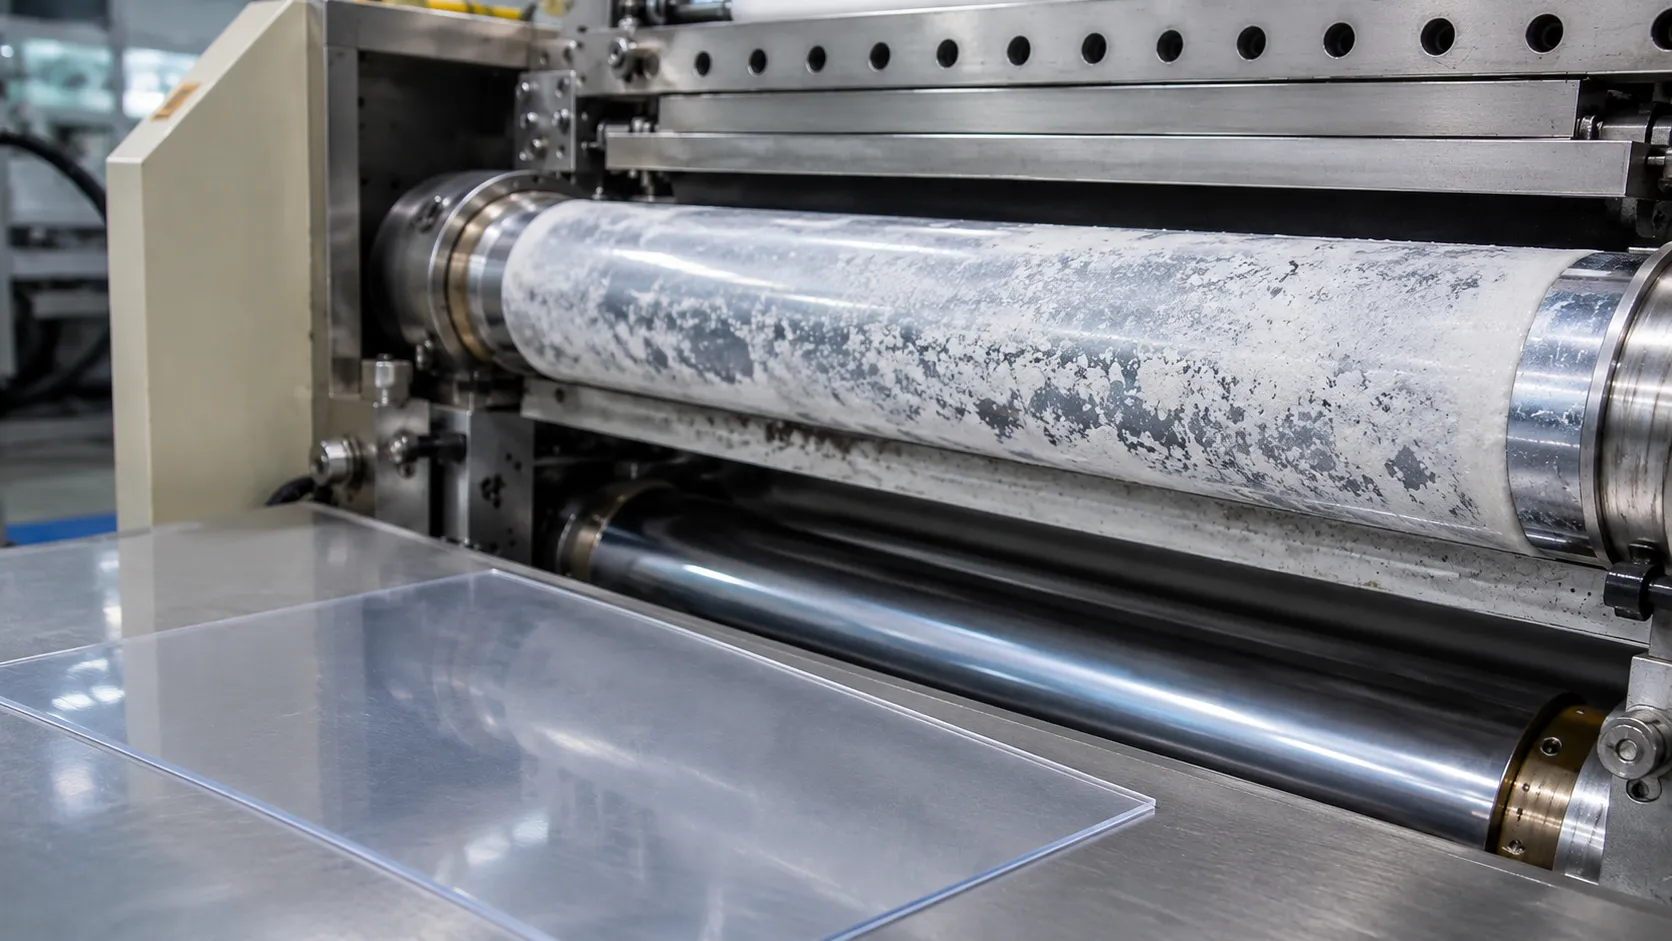
PVC plate-out is the accumulation of formulation components or degradation residues on hot or cooling metal surfaces during processing.
It may appear on:
· Screws and barrels
· Vent openings
· Adapters
· Die channels
· Die lips
· Calibrators
· Calender rolls
· Embossing rolls
· Downstream product surfaces
The deposit can gradually transfer back onto the PVC product, causing streaks, spots, haze, reduced gloss, black specks or dimensional variation. It also shortens cleaning intervals and increases downtime.
Plate-out should be distinguished from several similar problems.
Problem | Main Characteristic |
PVC plate-out | Additive or inorganic components accumulate on processing surfaces |
Die drool | Material collects around the die exit, often due to flow separation or migration |
Blooming | Additives migrate to the finished product surface after processing |
Burnt material | Degraded PVC forms yellow, brown or black carbonized deposits |
Contamination | Foreign material enters through raw materials, equipment or handling |
Poor dispersion | Undispersed particles appear in the product but may not form equipment deposits |
The correct diagnosis matters because each problem requires a different corrective action.
Start with the Location of the Deposit
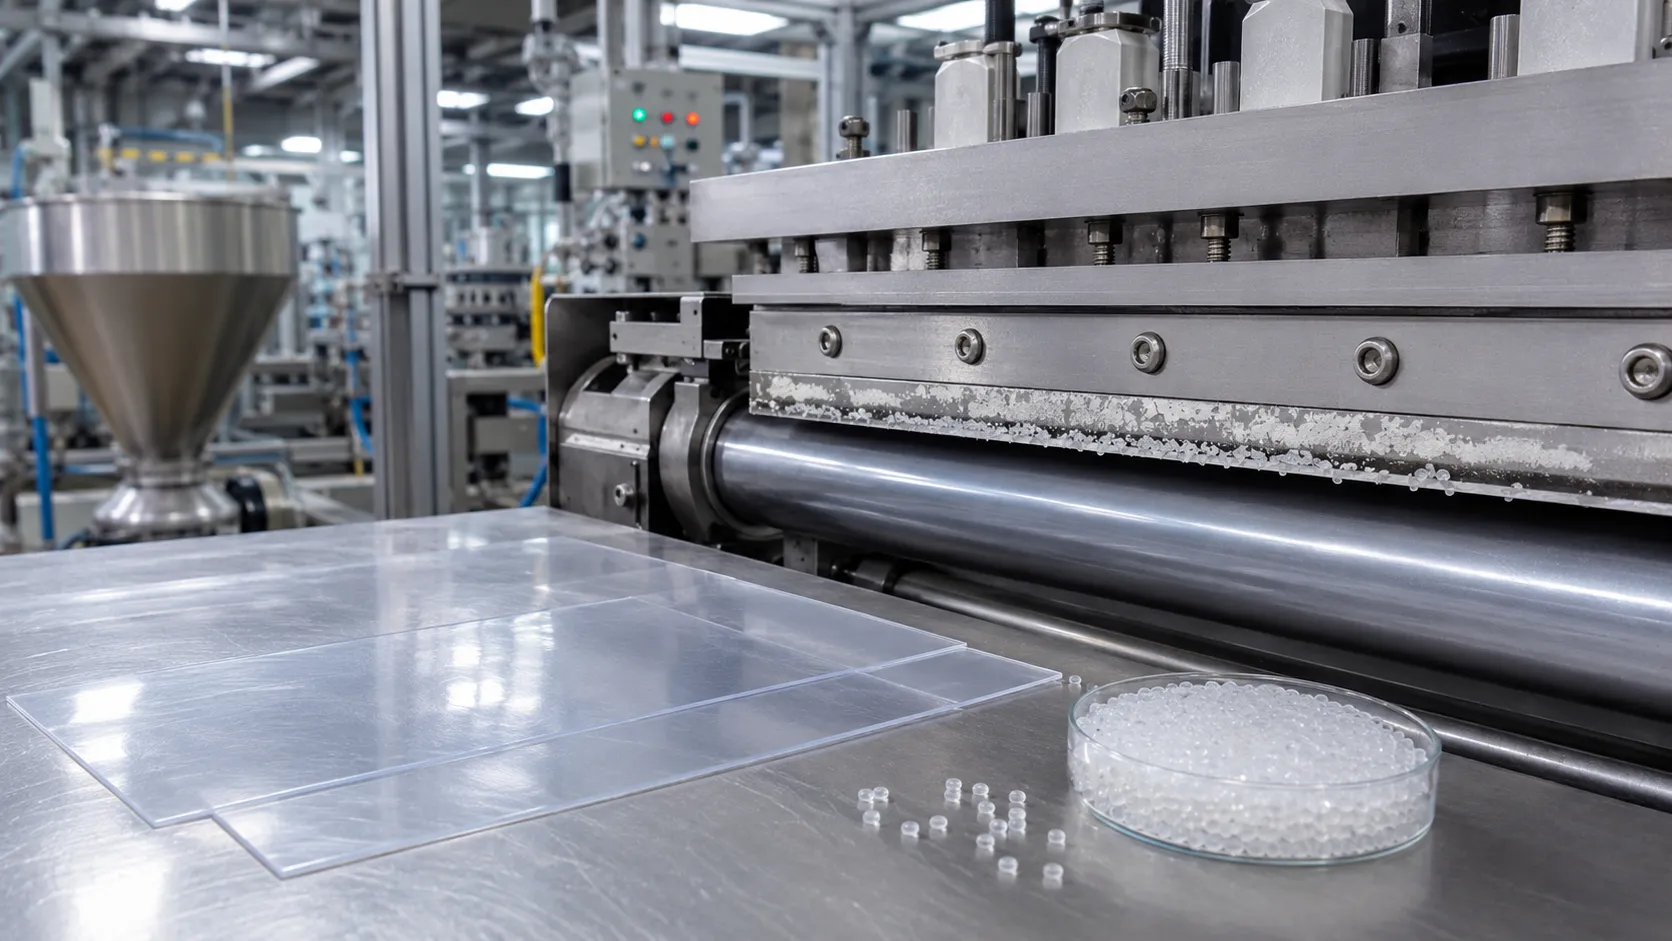
The position of the deposit is one of the strongest clues to its cause.
Vent Area
Deposits around the vent may indicate:
· Moisture in fillers, recycled material or dry blend
· Volatile low-molecular-weight components
· Inadequate dry-blend cooling
· Excessive material temperature before extrusion
· Poor venting efficiency
Before changing the stabilizer, check moisture, dry-blend temperature and the condition of the vacuum or vent system.
Screw, Barrel or Adapter
Deposits inside the screw, barrel or adapter may be related to:
· Incomplete PVC fusion
· Low-flow or dead zones
· Excessive residence time
· Screw wear
· Poor metal-surface condition
· Incompatible formulation components
· Local overheating
If the deposit forms repeatedly in one specific location, inspect equipment geometry and wear rather than assuming the complete formulation is unstable.
Die Channel or Die Lip
PVC die build-up may result from:
· Lubricant migration
· Low-molecular-weight waxes
· Unsuitable metal soaps
· Excessive external lubrication
· Poor additive compatibility
· Local temperature differences
· Degraded material retained in a dead zone
Deposits at the die lip may also be influenced by pressure, output and material velocity.
Calibrator
Deposits on a PVC pipe or profile calibrator frequently involve:
· Moisture
· Filler surface treatment
· Lubricant migration
· Cooling conditions
· Fine inorganic particles
· Material carried from the die
A deposit appearing mainly on the calibrator should not automatically be treated as a die-temperature problem.
Calender Rolls
Deposits on calender rolls may contain:
· Liquid stabilizer components
· Wax
· Fatty acid esters
· Metal soaps
· Plasticizer
· Pigment or filler
· Degraded material
Roll temperature, roll-speed ratio and compound fusion must be reviewed together with the formulation.
Examine the Appearance and Texture
The deposit’s appearance provides an initial direction, although visual inspection alone cannot confirm its composition.
Deposit Appearance | Possible Diagnostic Direction |
Soft, waxy film | PE wax, paraffin, fatty acid ester or low-molecular lubricant |
Oily or sticky film | Liquid additives, plasticizer or poorly compatible components |
White powdery residue | CaCO₃, TiO₂, metal salts or mixed inorganic deposits |
Hard white or grey scale | Inorganic-rich deposit combined with heat and pressure |
Yellow or brown sticky deposit | Partial PVC degradation or consumed stabilizer system |
Black carbonized particles | Local overheating, equipment dead zones or long residence time |
Transparent or cloudy film | Migrating lubricant or other low-molecular organic material |
A white deposit is not necessarily excessive PE wax. It may contain a high proportion of calcium carbonate, titanium dioxide or stabilizer-related metal components.
Similarly, black specks do not automatically mean the stabilizer has insufficient static heat stability. Degraded material may remain in a screw channel, adapter corner or damaged metal surface and later detach during production.
Record When Plate-Out Appears
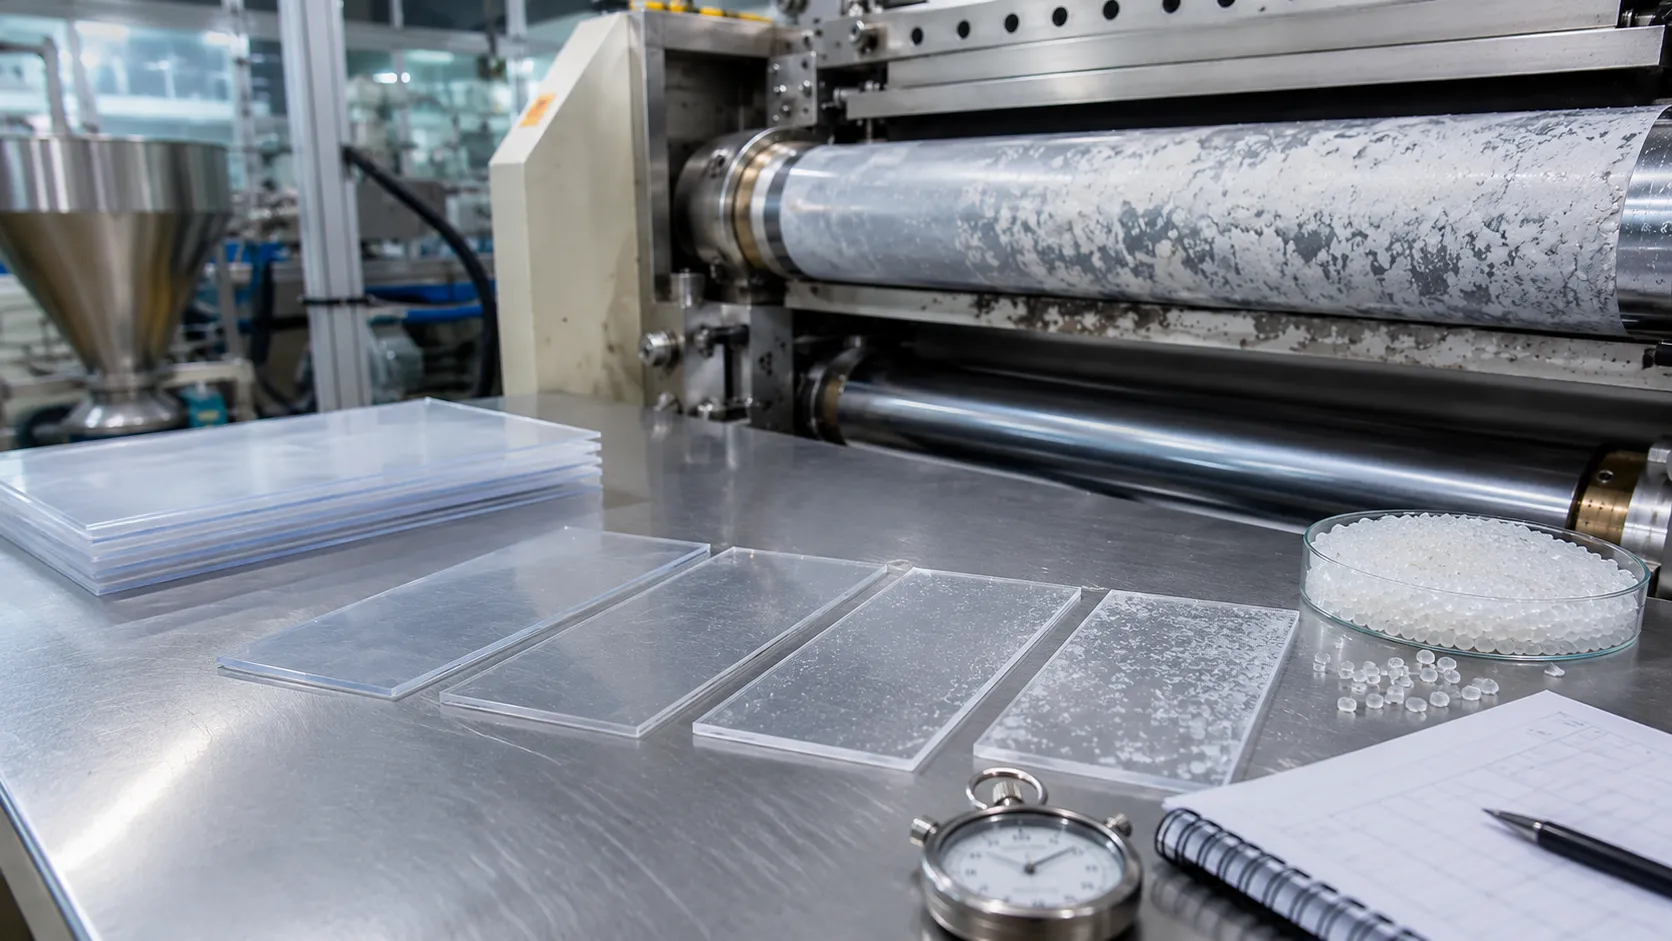
The time required for a deposit to appear is another important diagnostic clue.
Immediately After Start-Up
Plate-out that appears almost immediately may indicate:
· Contamination remaining from the previous production run
· Incorrect formulation or weighing
· A severely incompatible raw material
· An abnormal equipment temperature
· Material retained inside the die or adapter
· Incorrect start-up procedure
After One to Three Hours
Gradual accumulation after several hours often points toward:
· Lubricant migration
· Low-molecular-weight components
· Inorganic particle accumulation
· Increasing thermal history
· Slowly changing die or calibrator temperature
After One Shift or Longer
Long-delay plate-out may involve:
· Progressive additive migration
· Deposit layer growth
· Minor incompatibility that requires time to become visible
· Equipment surface roughness
· Long-term color or heat-stability loss
After Increasing Output
If deposits appear only after increasing extrusion speed, check:
· Fusion
· Shear heat
· Melt temperature
· Head pressure
· Lubricant performance
· Die flow distribution
The stabilizer may perform adequately at low output but lack sufficient processing margin at the normal production rate.
After Stopping and Restarting
Yellow, brown or black deposits after restart are more likely to involve:
· Excessive residence time
· Degraded PVC retained in equipment
· Inadequate long-term heat stability
· Dead zones
· Improper shutdown or restart procedures
The appearance time should be recorded in minutes or hours rather than described only as “quickly” or “after a long run.”
Five Major Root-Cause Groups
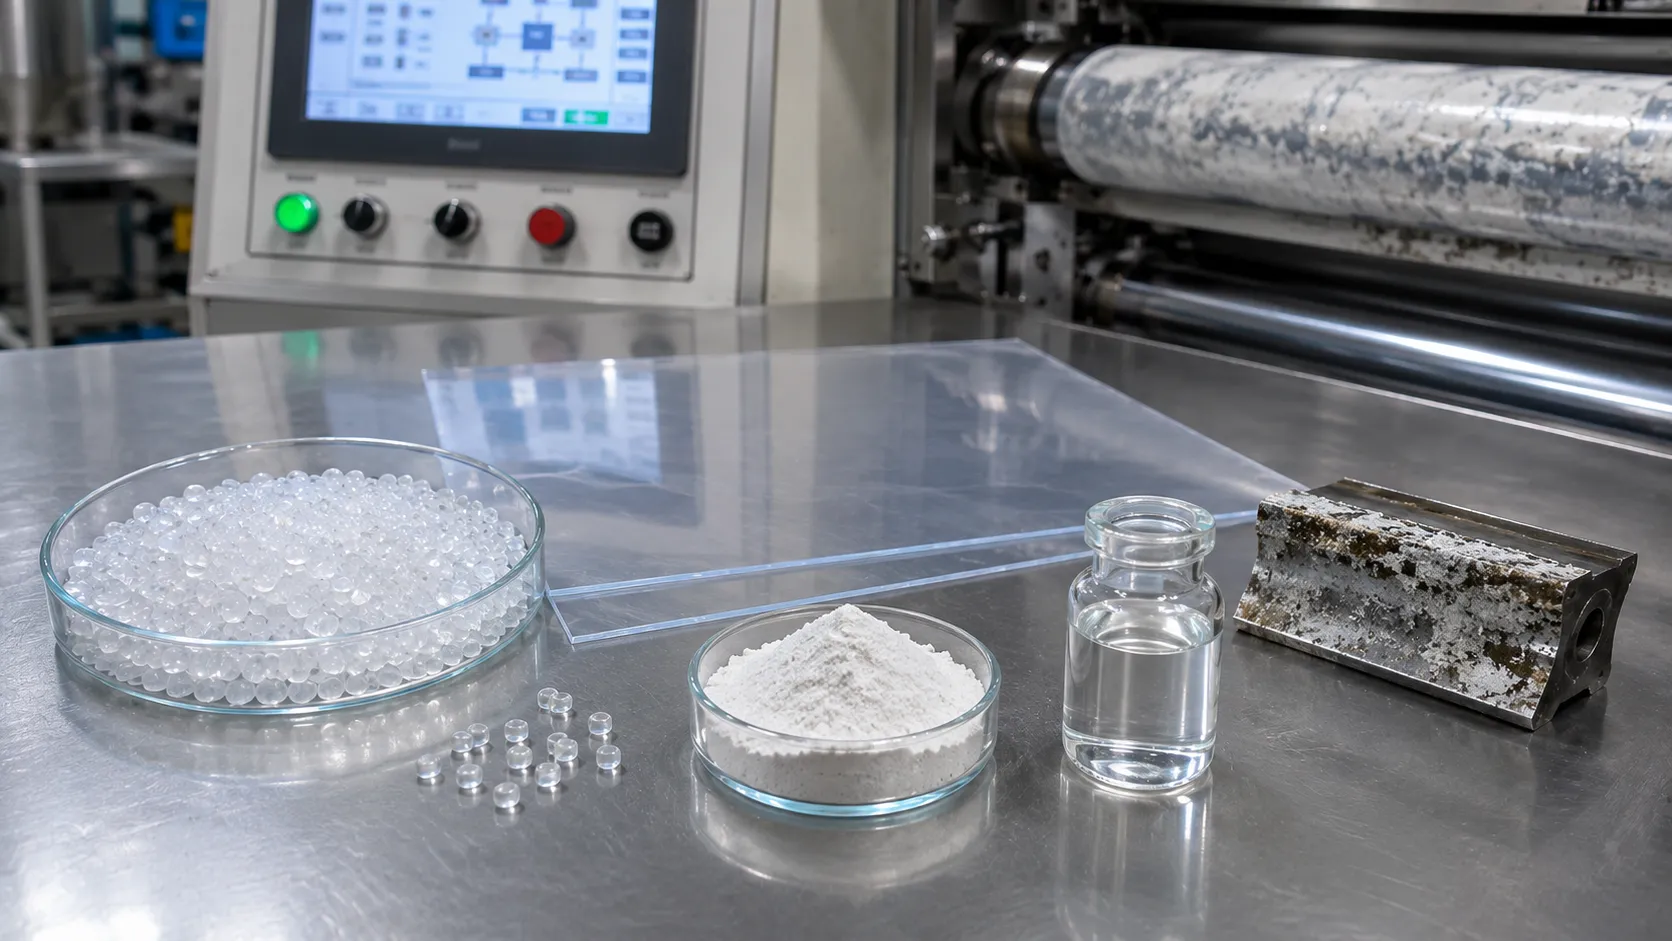
1. Lubricant Imbalance
Both excessive and insufficient lubrication can contribute to PVC processing deposits.
Excessive external lubrication may delay fusion and encourage low-compatibility components to migrate toward metal surfaces. Insufficient external lubrication can increase friction, metal adhesion and local overheating.
The problem may also come from lubricant quality rather than dosage. PE waxes with broad molecular-weight distribution or excessive low-molecular fractions may migrate more easily. Metal stearates made from lower-quality fatty acids can create similar problems.
Check:
· Internal and external lubricant dosage
· Lubricants already included in the one-pack stabilizer
· Wax melting range
· Molecular-weight distribution
· Raw-material batch changes
· Fusion time and torque
Do not increase external lubricant only because material appears to stick to the die. The additional wax may reduce sticking temporarily while increasing long-term migration.
2. Stabilizer and Additive Compatibility
Changing a PVC stabilizer can alter fusion, melt viscosity and lubrication balance even when the rest of the formula remains unchanged.
Plate-out after changing stabilizer does not prove the new stabilizer is defective. The new package may contain different levels of:
· Metal soaps
· Co-stabilizers
· Internal lubricants
· External lubricants
· Processing components
It may expose an existing mismatch in the original lubricant system.
Compare the old and new stabilizer under the same base formulation, then adjust lubrication gradually. Avoid changing the stabilizer, wax and processing temperature simultaneously.
3. Fillers, Pigments and Moisture
Calcium carbonate and titanium dioxide can become important components of a plate-out deposit.
Check:
· Filler particle size
· Surface coating
· Moisture content
· Dispersion
· Supplier or batch changes
· TiO₂ grade
· Filler dosage
· Dry-blend cooling
Excessive moisture can encourage agglomeration, poor fusion and deposits around vents or calibrators. Recycled material should also be checked because it may introduce moisture, contamination and additional heat history.
4. Fusion, Temperature and Residence Time
Plate-out may be caused by processing conditions even when the formulation is unchanged.
Important parameters include:
· Actual melt temperature
· Barrel and die temperatures
· Screw speed
· Fusion time
· Peak and equilibrium torque
· Head pressure
· Output
· Residence time
Incomplete fusion can leave components insufficiently incorporated into the PVC matrix, increasing migration. Excessive heat or residence time can consume the stabilizer and generate degraded deposits.
Do not rely only on machine temperature settings. Actual melt temperature and torque behavior provide more useful evidence.
5. Equipment and Die Condition
A technically suitable formulation may still produce deposits in equipment with:
· Worn screws
· Damaged barrel surfaces
· Rough die channels
· Dead zones
· Poorly aligned flow paths
· Sudden changes in flow area
· Inadequate heating
· Residue from previous production
If the deposit repeatedly forms in exactly the same area, clean and inspect the equipment before rebuilding the complete formulation.
Step-by-Step PVC Plate-Out Troubleshooting Process
Step 1: Establish the Baseline
Record:
· Complete formulation
· Raw-material suppliers and batches
· Mixing conditions
· Processing temperatures
· Screw speed
· Torque or motor load
· Head pressure
· Output
· Deposit location
· Time to first visible deposit
· Product defects
· Cleaning interval
Take clear photos and retain a sample of the deposit.
Step 2: Review Recent Changes
Check whether the problem started after changing:
· Stabilizer
· PE wax
· Metal stearate
· Filler
· TiO₂
· Recycled material
· Mixing procedure
· Temperature
· Output
· Screw or die components
The most recent change is not always the cause, but it provides a useful starting point.
Step 3: Clean the Equipment
A new trial should begin with clean equipment. Otherwise, deposits from an earlier formulation may contaminate the results.
Record how long the clean line runs before deposits reappear.
Step 4: Check Moisture and Dry Blending
Measure moisture in:
· Filler
· Recycled material
· PVC dry blend
Confirm that the dry blend is cooled adequately before storage or feeding.
Step 5: Run Single-Variable Trials
Trial | Variable Changed | Diagnostic Purpose |
Control | No change | Confirm the baseline problem |
Trial A | External lubricant level | Check over- or under-lubrication |
Trial B | Wax grade | Check molecular weight and compatibility |
Trial C | Stabilizer batch or grade | Check stabilizer-package influence |
Trial D | Filler or TiO₂ batch | Check inorganic contribution |
Trial E | Recycled material removed | Check contamination and thermal history |
Trial F | Temperature or speed | Check process sensitivity |
Each trial should use the same running time, output target and deposit-evaluation method.
Step 6: Inspect the Equipment
If formulation trials do not produce a clear result, inspect:
· Screw wear
· Barrel damage
· Adapter corners
· Die channels
· Heating zones
· Calibrator condition
· Dead areas
Step 7: Analyze the Deposit
Laboratory analysis becomes useful when:
· Several adjustments have failed
· The deposit has an unusual appearance
· Production losses are significant
· The suspected cause remains unclear
· A supplier dispute requires evidence
Useful Plate-Out Analysis Methods
Ash Testing
A high ash level suggests that the deposit contains a significant amount of inorganic material, such as filler, pigment or metal compounds.
FTIR
FTIR can help identify organic components, including waxes, fatty acid salts, esters and other additives.
SEM-EDX or XRF
Elemental analysis can identify calcium, titanium, zinc, tin and other elements. This helps determine whether the deposit is rich in filler, pigment or stabilizer-related components.
DSC
DSC can help compare melting and crystallization behavior and may reveal waxy or low-molecular components in the deposit or raw material.
Moisture Testing
Moisture analysis should be performed on fillers, recycled material and dry blend when deposits occur near vents or calibrators.
The deposit should ideally be compared with the original raw materials rather than analyzed in isolation.
PVC Plate-Out Troubleshooting Matrix
Symptom | Likely Directions | First Check |
Soft waxy die deposit | Excess external lubricant or low-molecular wax | Wax grade, dosage and fusion |
White hard calibrator deposit | Filler, TiO₂, metal salts or moisture | Ash, filler batch and dry-blend moisture |
Yellow-brown die build-up | Heat history or partial degradation | Melt temperature and residence time |
Black particles after restart | Dead zones or retained degraded PVC | Shutdown procedure and die condition |
Plate-out after stabilizer change | New lubrication and compatibility balance | Compare package composition and torque |
Deposit only at high output | Fusion, shear heat or die flow | Torque, pressure and melt temperature |
Roll film in calendering | Liquid additive or lubricant migration | Roll temperature and stabilizer form |
Increasing haze with deposits | Additive migration or contamination transfer | Deposit location, compatibility and surface condition |
How to Confirm the Real Cause?
A temporary reduction in deposits is not enough to confirm that the problem has been solved.
The corrective action should be verified through repeated production under comparable conditions.
Track:
· Time to first visible deposit
· Cleaning interval
· Deposit weight or area
· Deposit severity score
· Torque and head-pressure stability
· Production output
· Product gloss
· Surface streaks
· Haze or color
· Scrap rate
The real cause is more likely to have been identified when the selected adjustment repeatedly reduces the deposit without creating new problems in fusion, heat stability, output or finished-product performance.
How AIMSEA Evaluates PVC Plate-Out Problems?
AIMSEA evaluates plate-out as a complete formulation and processing issue rather than assuming that one raw material is always responsible.
A technical evaluation may include:
· Reviewing the complete PVC formulation
· Identifying deposit location and appearance
· Comparing stabilizer and lubricant systems
· Checking filler, TiO₂, moisture and recycled material
· Evaluating static heat stability
· Comparing fusion and dynamic processing behavior
· Conducting controlled laboratory trials
· Supporting production-line verification
Photos alone are not sufficient for a reliable diagnosis. The most useful evaluation combines deposit evidence with formulation and process data.
Frequently Asked Questions
What causes plate-out in PVC?
PVC plate-out can be caused by lubricant imbalance, low-molecular additives, stabilizer incompatibility, fillers, pigments, moisture, incomplete fusion, excessive heat, equipment wear or dead zones.
Is PVC plate-out caused by too much PE wax?
Sometimes, but not always. A white deposit may contain calcium carbonate, titanium dioxide, metal salts or several formulation components rather than only PE wax.
Why did plate-out appear after changing the PVC stabilizer?
The new stabilizer may contain a different lubricant and metal-soap balance, changing fusion and additive compatibility. The complete formulation should be rebalanced before concluding that the stabilizer itself is defective.
Can increasing external lubricant reduce die build-up?
It may reduce metal adhesion in some cases, but excessive external lubricant can delay fusion and increase migration. Any adjustment should be verified through torque and long-run plate-out testing.
Can moisture cause PVC plate-out?
Yes. Moisture in fillers, recycled material or dry blend may contribute to agglomeration, poor processing and deposits around vents or calibrators.
How should PVC plate-out be tested?
Use a clean machine, fixed formulation, consistent production conditions and a defined running time. Record deposit location, time to appearance, severity, cleaning interval and product quality.
When should the deposit be sent for laboratory analysis?
Analysis is appropriate when repeated formulation adjustments fail, the deposit is unusual, production losses are significant or its composition cannot be identified through controlled trials.
Conclusion
The real cause of PVC plate-out cannot be identified by blaming the stabilizer or reducing wax without evidence.
Effective PVC plate-out troubleshooting should follow five diagnostic dimensions:
1. Deposit location
2. Appearance and texture
3. Time of occurrence
4. Formulation and process changes
5. Deposit composition
Begin with a documented baseline, inspect moisture and equipment, and change only one variable in each trial. If the results remain unclear, use ash testing, FTIR, DSC or elemental analysis to determine what the deposit contains.
A solution should only be considered successful when it repeatedly extends the cleaning interval and reduces deposits without reducing output, heat stability, fusion quality or finished-product performance.
Send your plate-out photos, complete PVC formulation and processing data to AIMSEA for a root-cause evaluation.